Campaign Playtest Continues
 |
| The other players rolled an Assualt Scenario. |
For my Warband I took my Great Warrior, Companion and three Stiplings. I then put a War! Dice aside for a Veteran Warrior and a Healer. I then rolled my three remaining War! Dice for a total of ten and got five Warbearers to fill out my Warband.
We then rolled scenarios. I rolled an Attacker Ambushed scenario. So that means my opponent would have the opportunity to ambush me as I tried to find him with a Forage Order. Not a good roll.
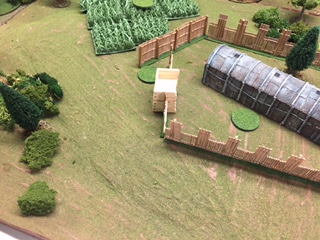
The tabletop was set up and then the opponent gets to choose an ambush site (piece of terrain) on the board and then chooses the tabletop that my warriors had to get off. I then had to set up my Warband within 2" of the Ambush site. Finally, the defender can choose three terrain pieces over 12" away from the Ambush site to perform the Ambush. The defender also gets Initiative for the first turn.
 |
| My Warband stands on the Ambush Marker |
Now it was my turn for Activation. I activated my Warband rolling a one, all groups activated. I then spotted his Group that was by this point only 2" away from my Warband. I spotted him in the open and charged the group with half my warriors. In the ensuing combat I wounded his Great Warrior and killed one of his Warbearers and won the close combat. However, he rolled a one for his Nerve Test and passed the test, he needed a one or two to pass. We separated our warriors 2" off each. I then had four warriors which included two of my striplings to fire bows at his second group but I could not fire them because I had not spotted his group and had already spent my groups spotting roll on finding his other group so I could charge them. So my first action was over. He reacted and fired some arrow again. He then choose to recharge into me with his small Great Warrior group. He caused some wounds, and killed my Healer, but lost the fight this time failing the Nerve Test. I ended up capturing one of his wounded Warbearers and killing off his Stripling.
 |
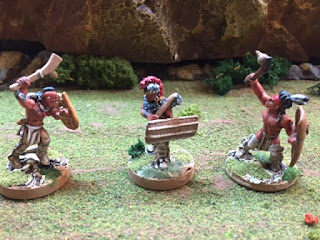
| Fighting in the Three Sisters in front of the Village |


Comments
Post a Comment